Heritage Techniques Research - Lincoln's Inn Spiral Stone Stair
Heritage Techniques Research - Lincoln's Inn Spiral Stone Stair
A short story describing the process of reworking the existing stone spiral staircase to connect to the new library extension
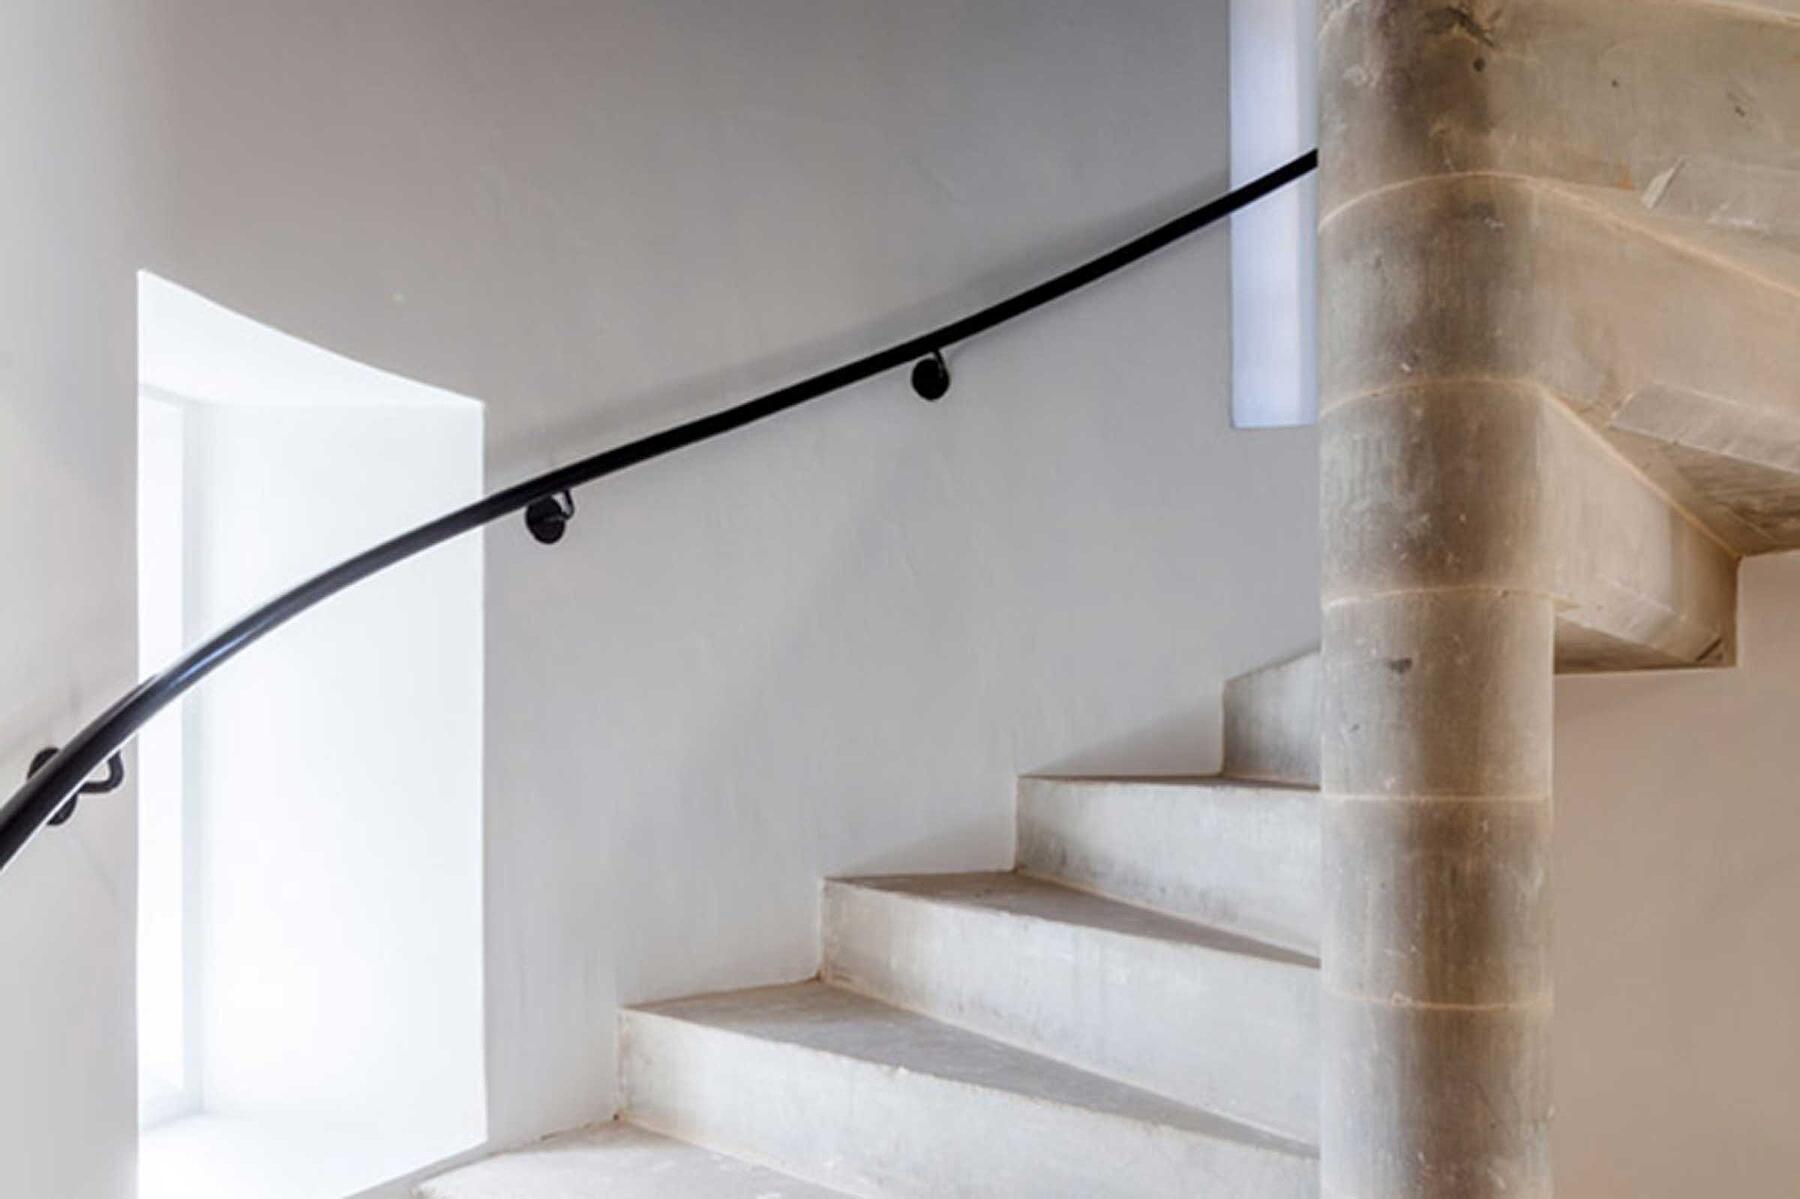
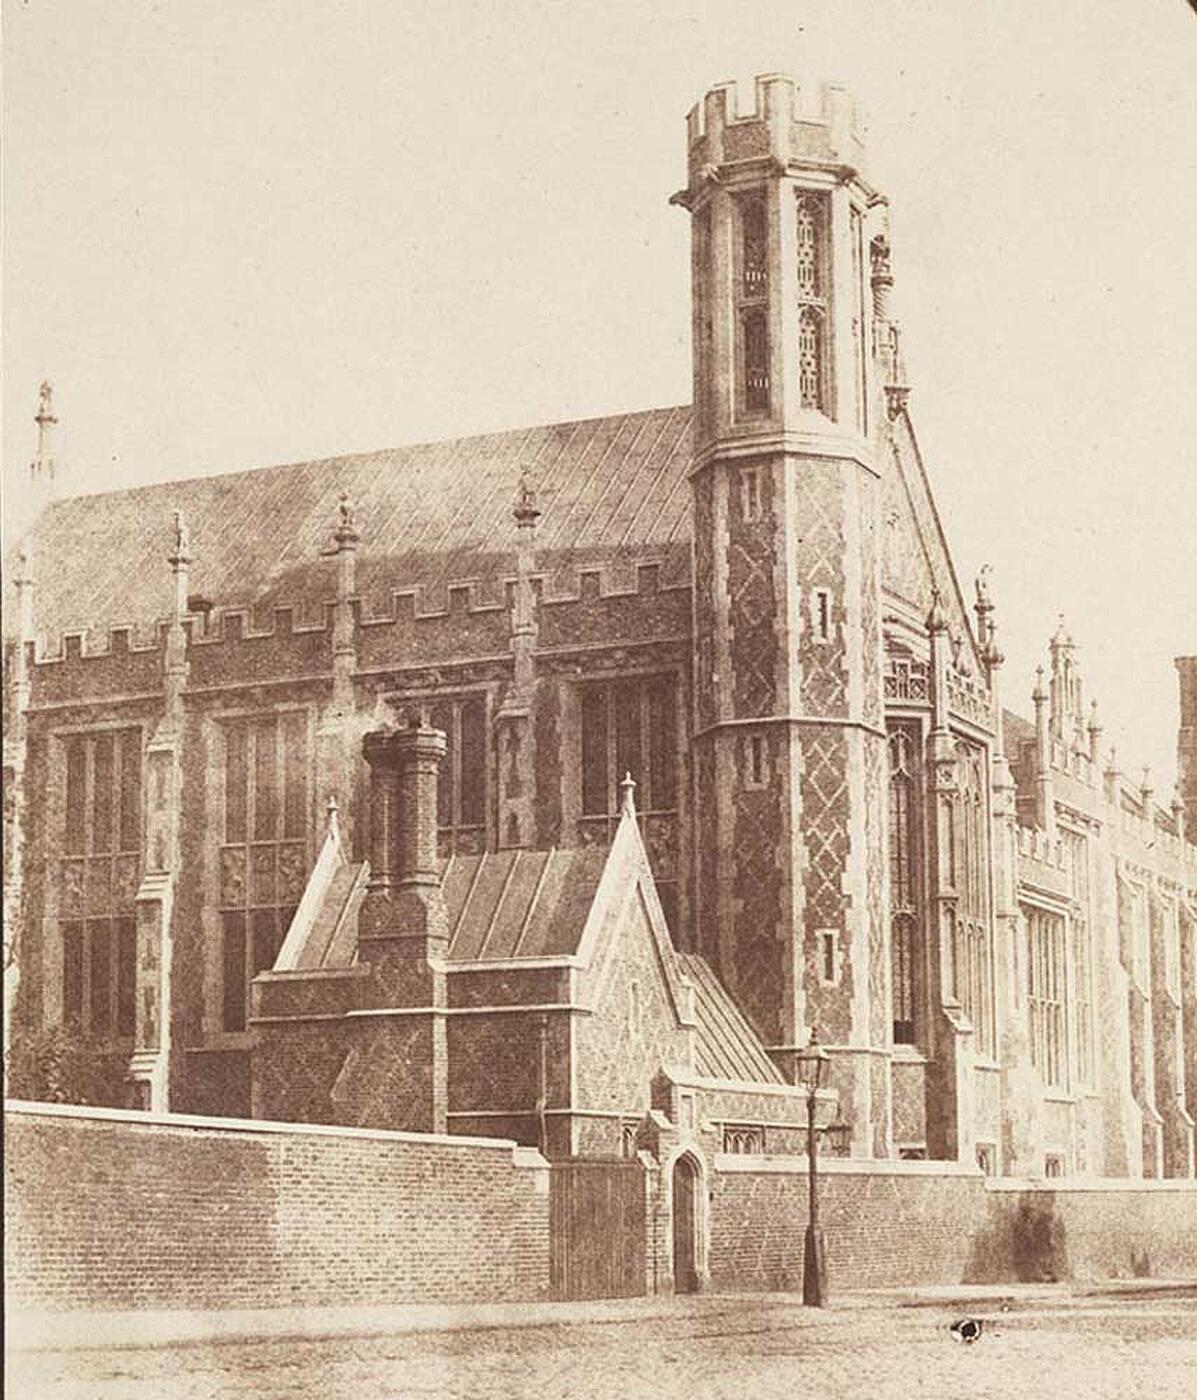
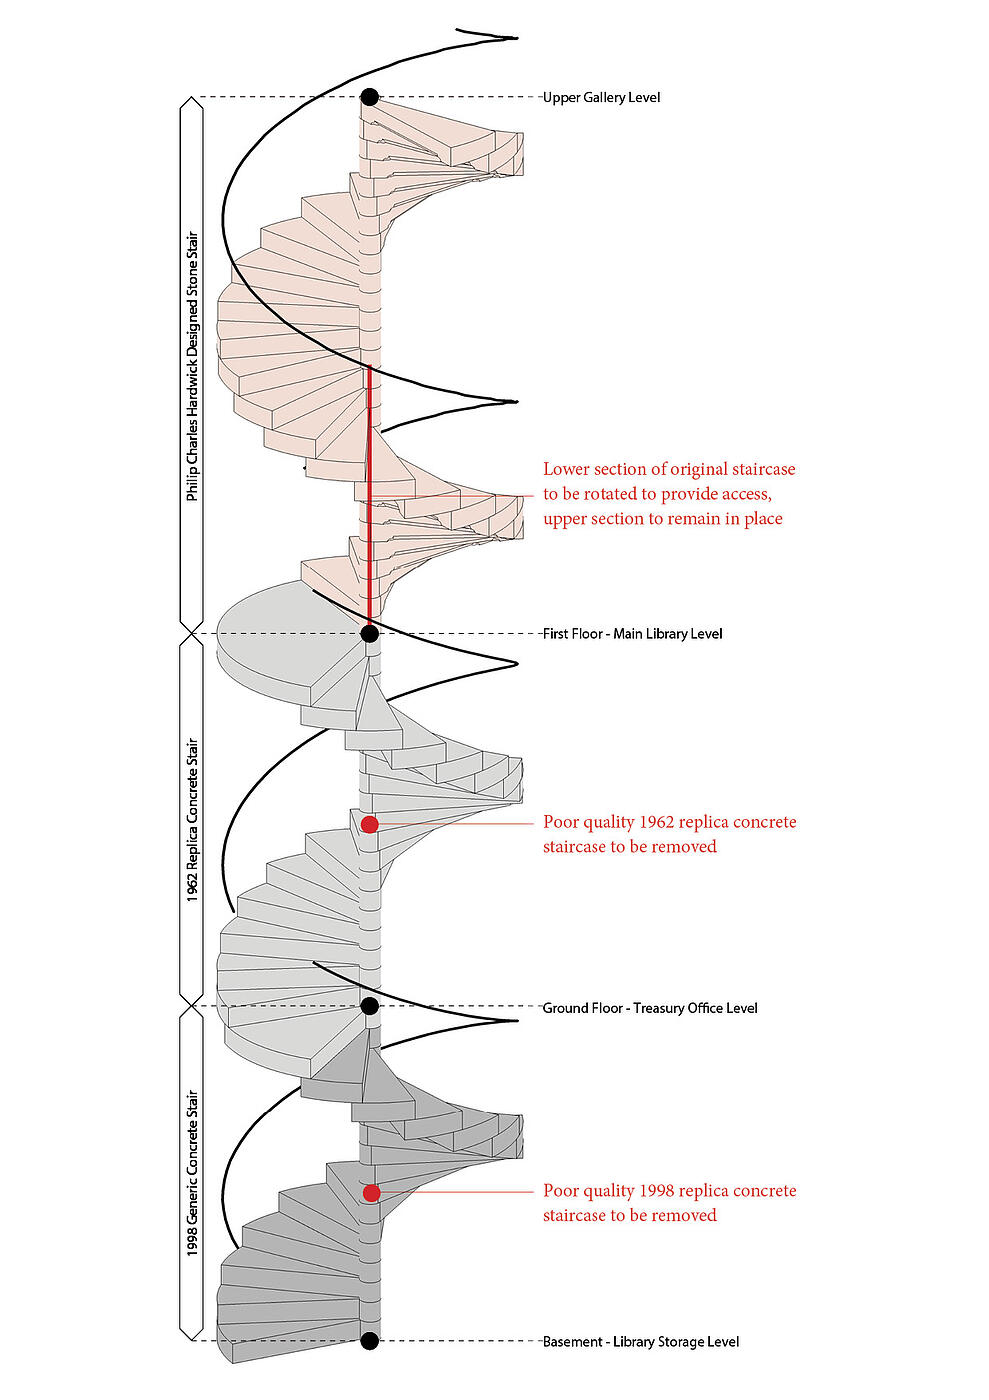
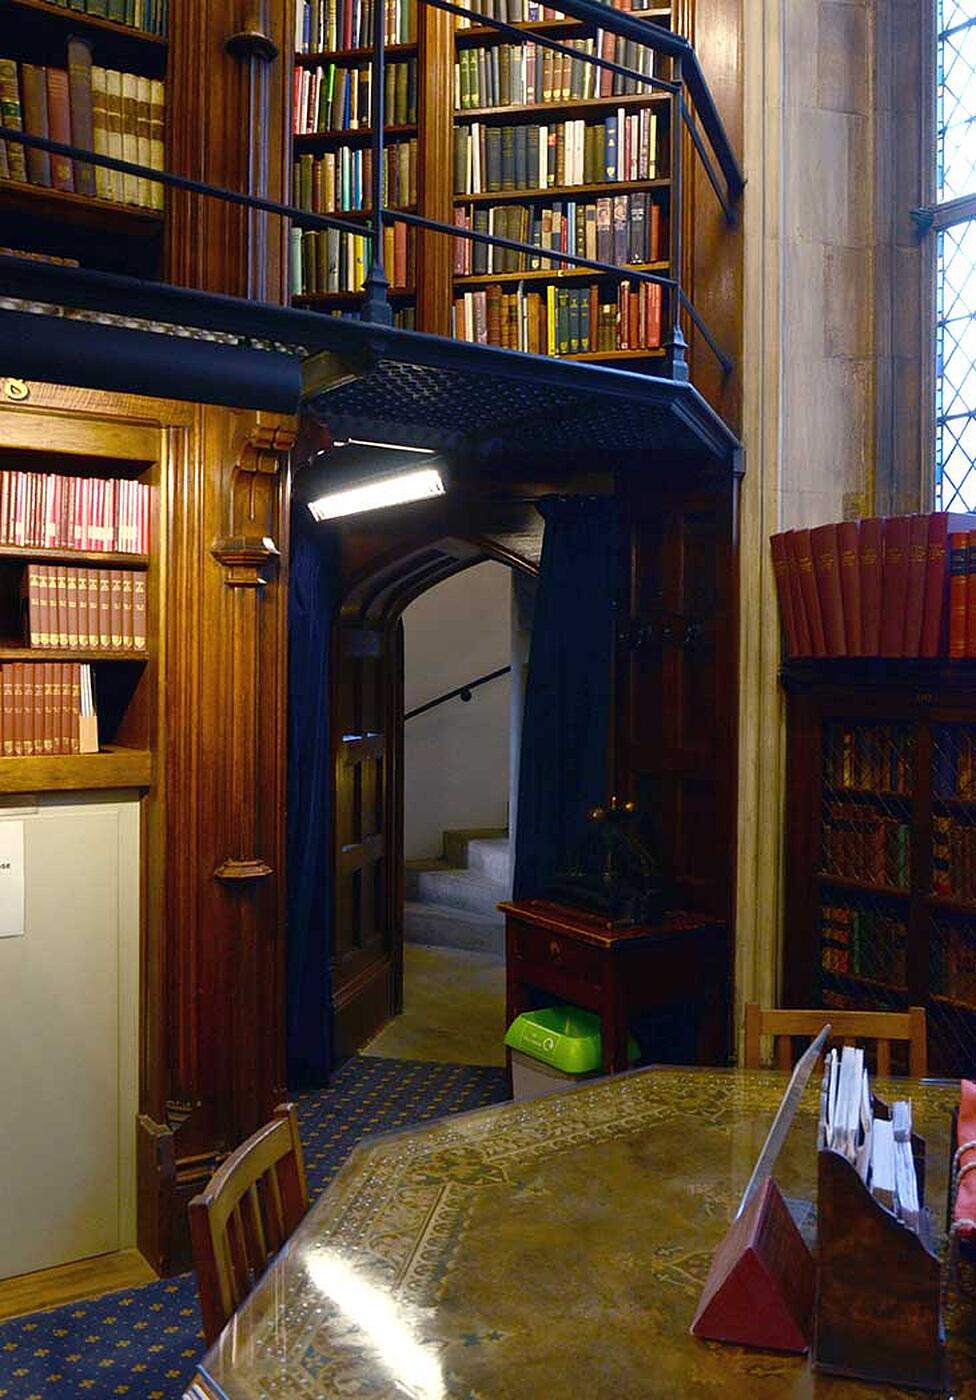
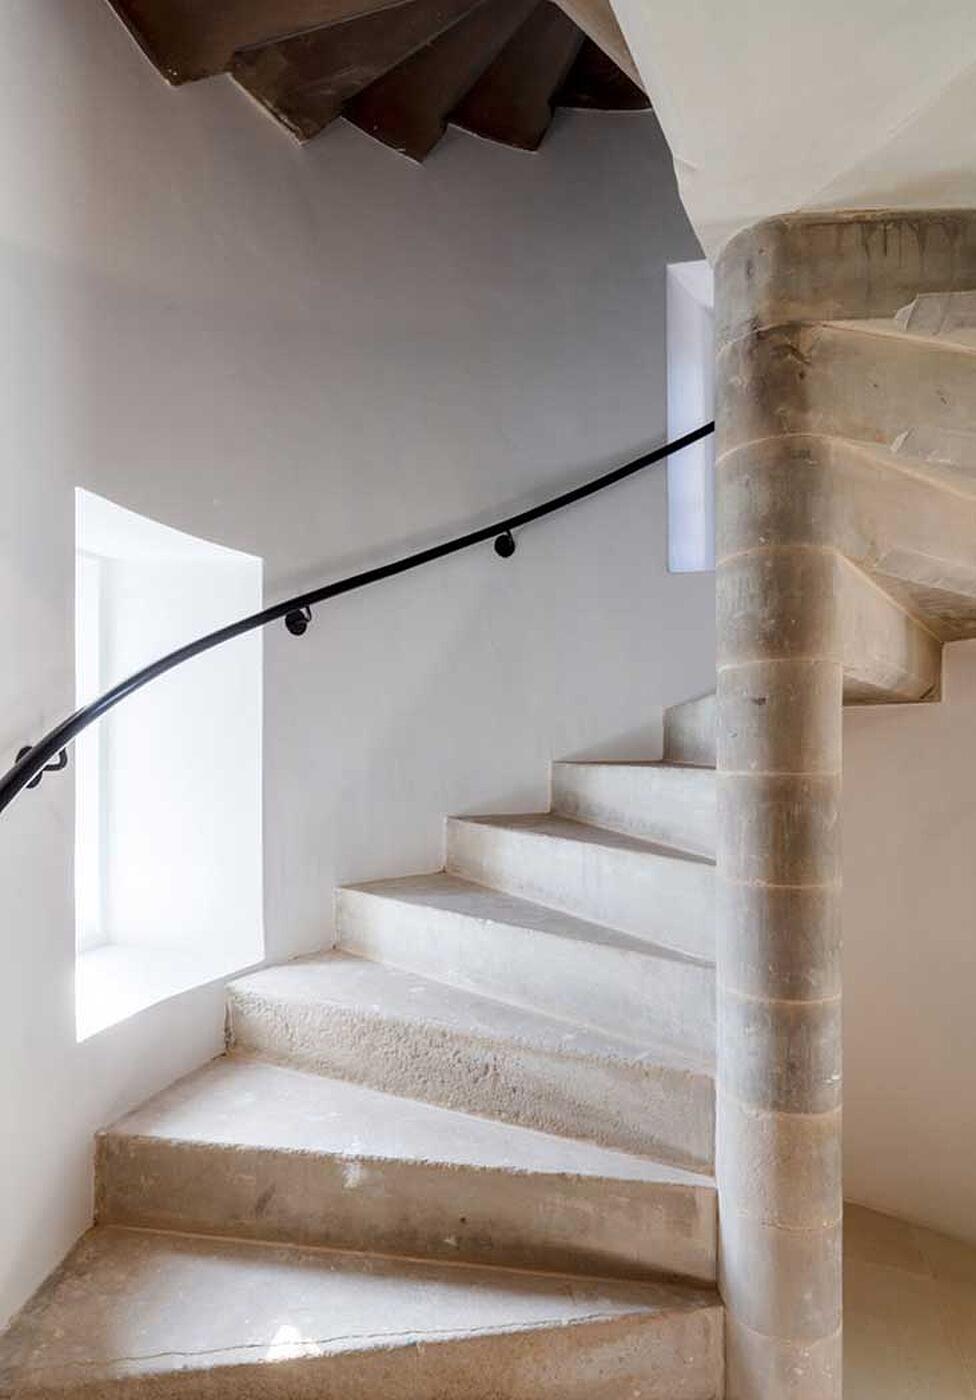
Lincoln’s Inn Great Hall and Library is a Grade II* listed building designed by Philip Hardwick and his son Philip Charles Hardwick in a Tudor Gothic style and completed in 1845. In the northwest corner of the Library is a turret containing a traditional stone spiral staircase connecting the Library with lower levels and an upper gallery level within the double-height Library space itself.
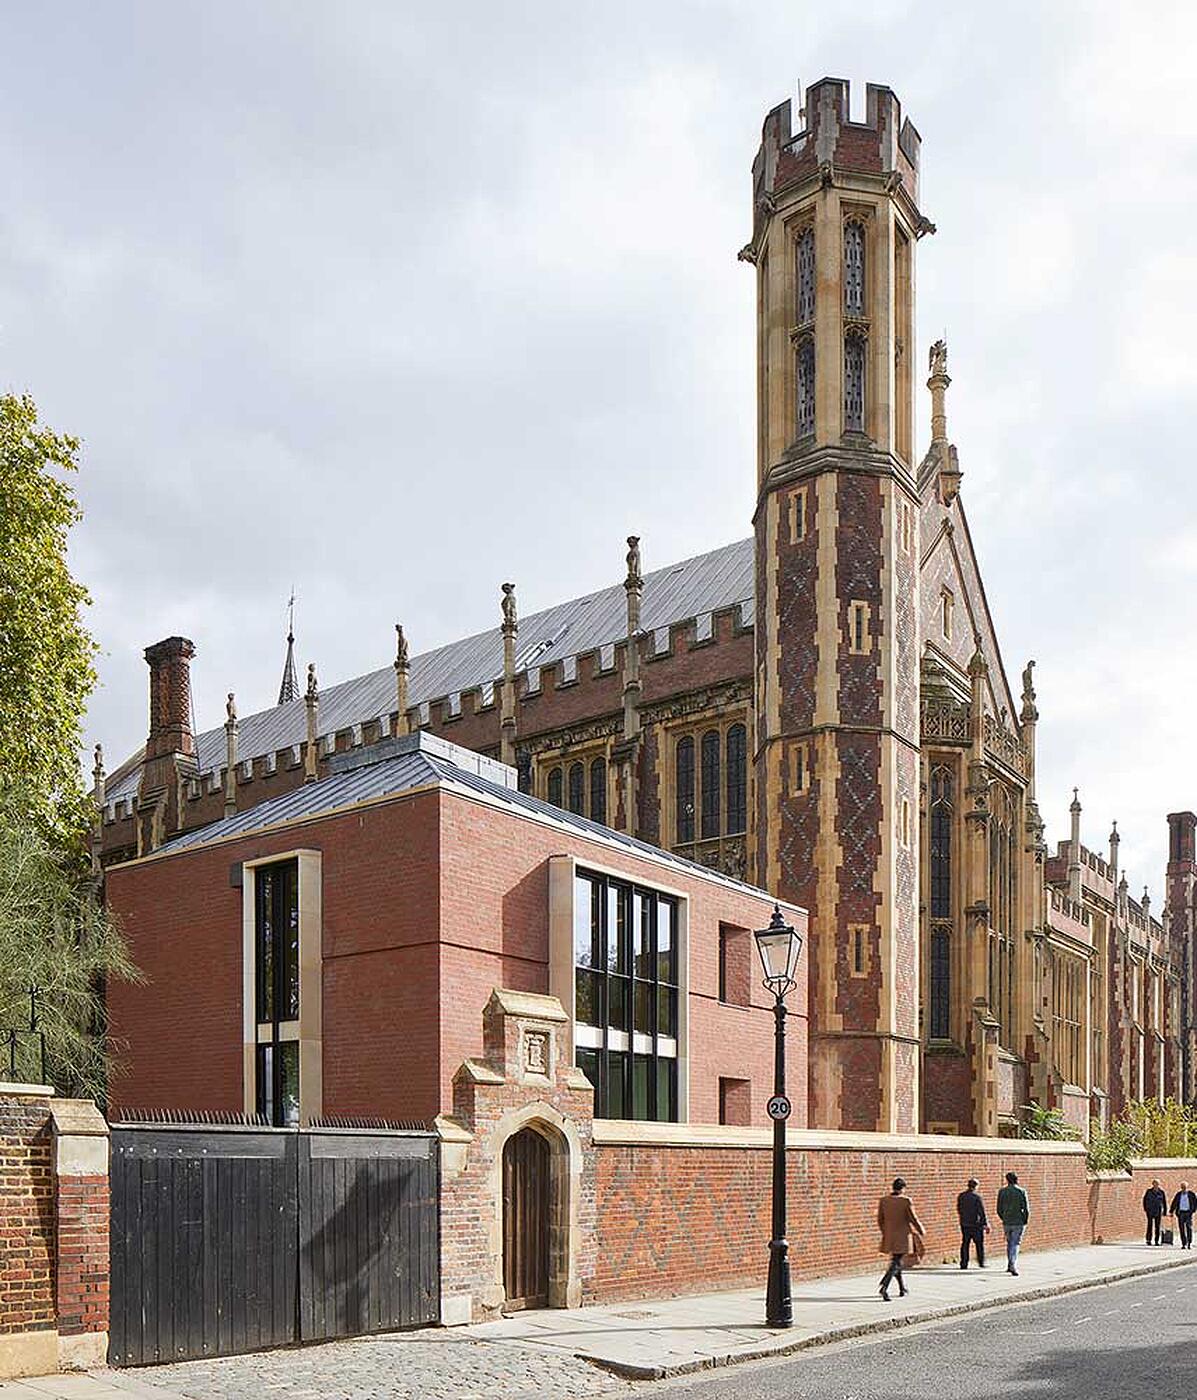

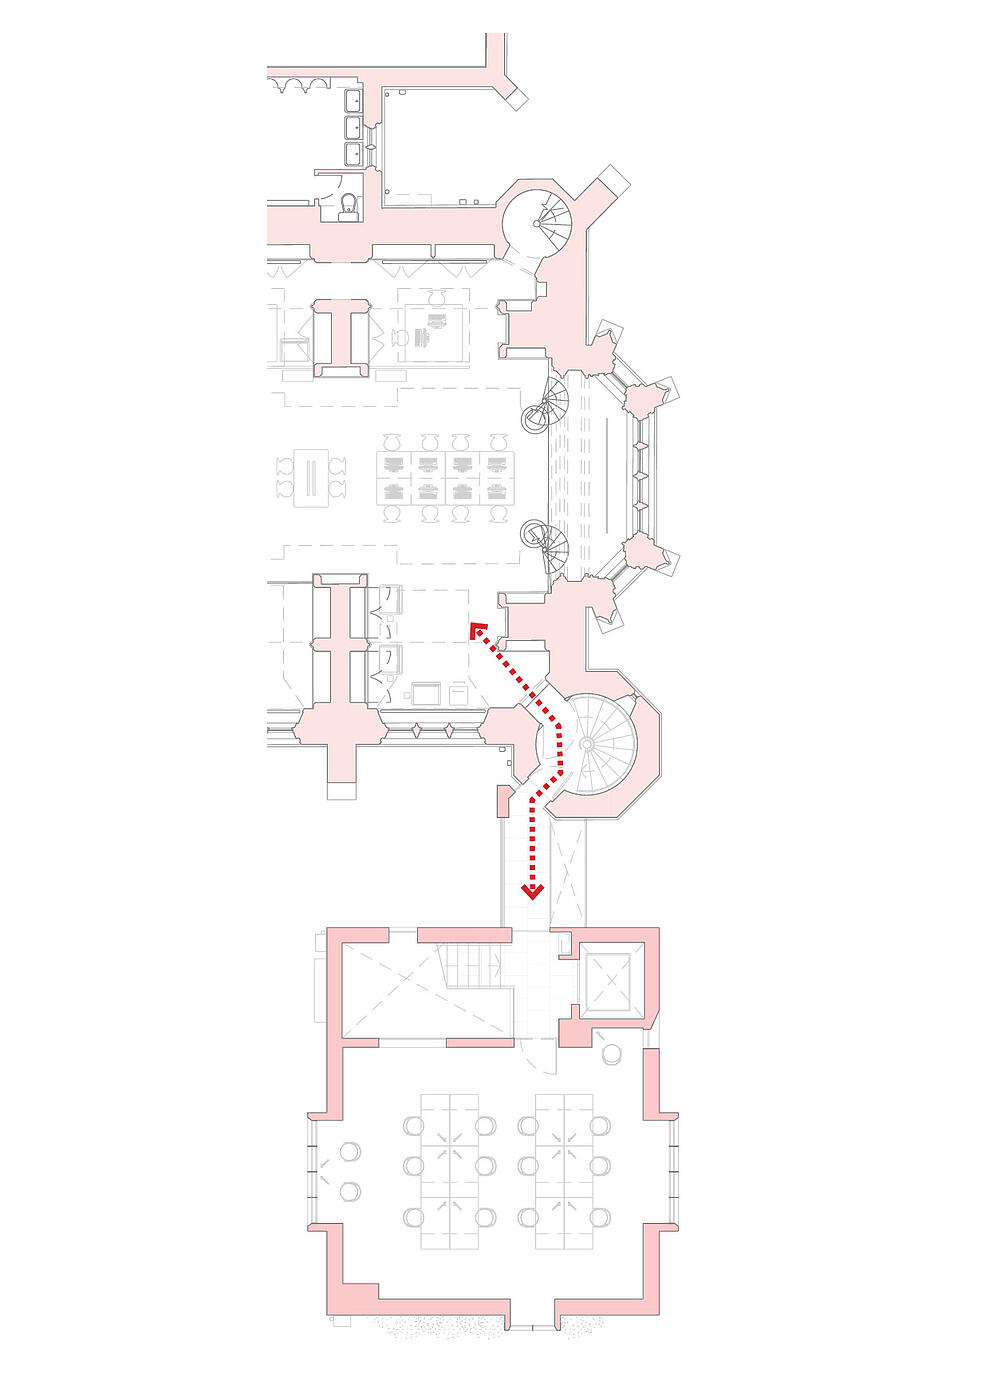
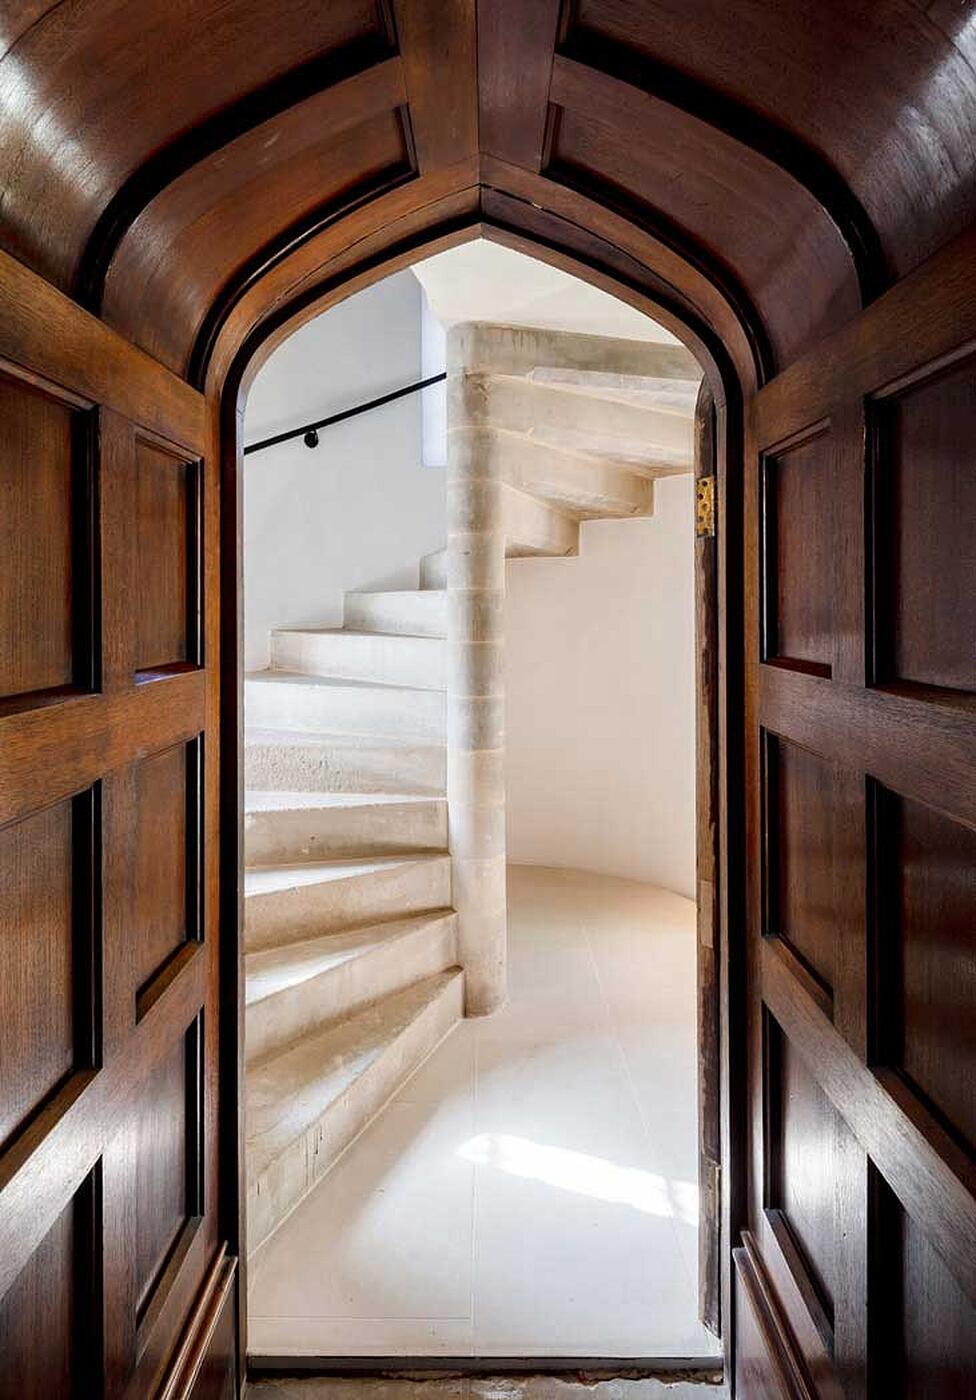
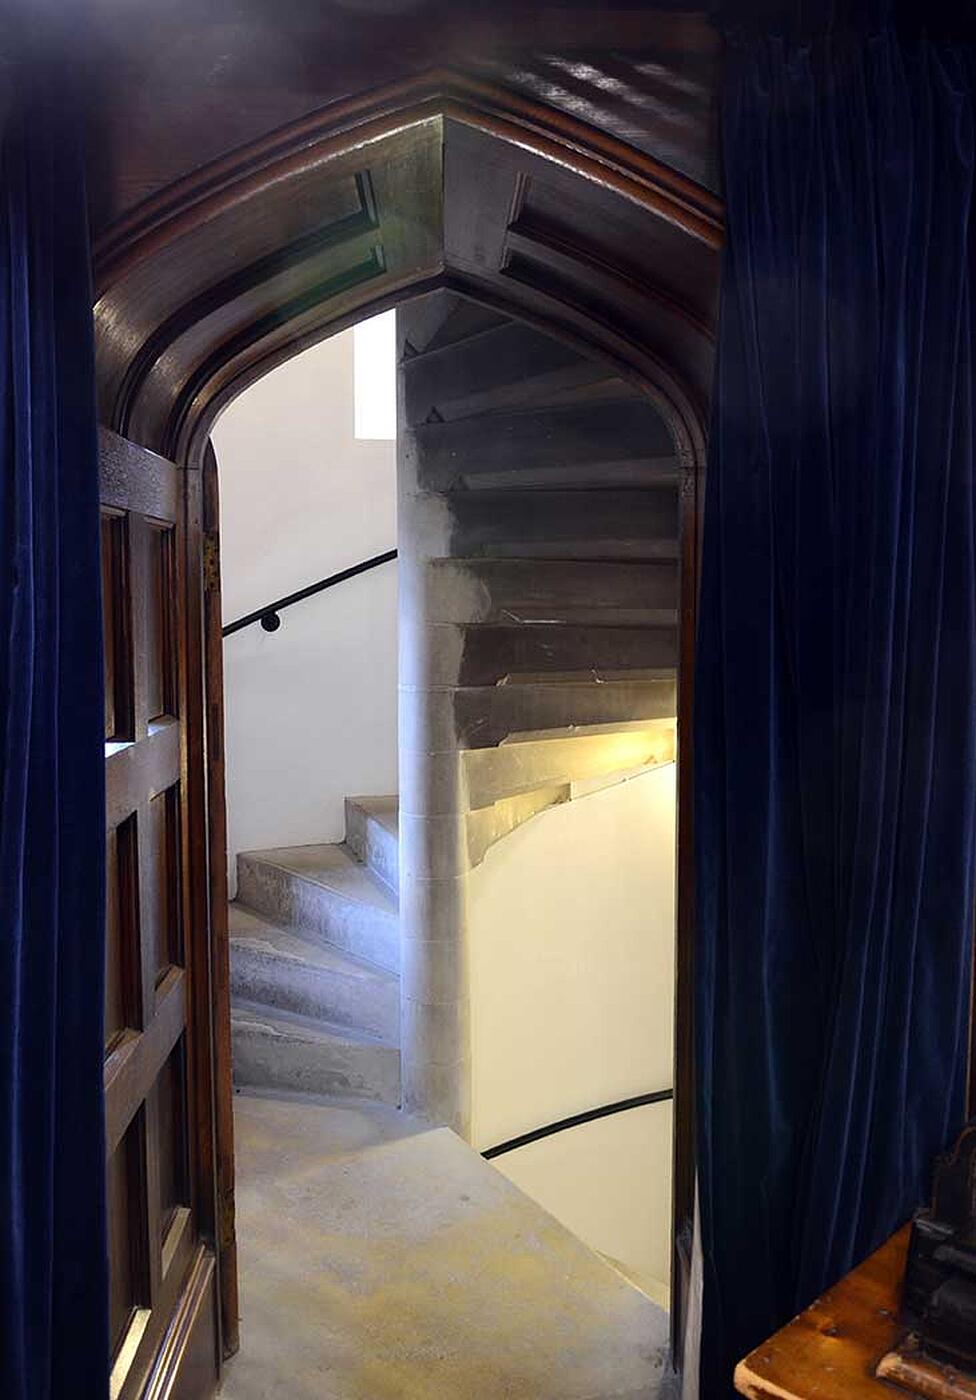
To provide level access and clear headroom from the Library and the new library extension it was necessary to rotate thirteen of the existing stone treads by a quarter turn within the drum of the turret, creating a new landing that connects through a new opening in the brick turret wall into the glazed link to the new Library Extension building. A new staircase of matching stone construction was inserted below this landing to replace a precast concrete replica which had been inserted in the 1960s.
Method Statement
1. Prop steps 1-13 ( 2 acrow props per step) off RC landing slab supporting step 1
2. Prop RC landing slab, step 14 (8 acrow props) off RC landing slab supporting step 1. Innermost props to be tight to central cylinder of stairs
3. No access to be provided to steps in turret above step 14 ie. no live or imposed loads on steps
4. Tighten props under step 14 slowly and evenly to an extent such that a gap opens up between the underside of step 14 (RC landing slab) and the top of the central cylinder for step 13 (a fraction of a millimeter is sufficient)
5. The flat jack above step 24 is to remain in place, as it acts as a fail-safe for movement of upper level steps (steps 15 and above)
6. Beginning at step 13 remove mortar packing above top surface of step and at nosing at front of step (sufficient to allow step to be relocated, on plan, in an anti-clockwise direction
7. Reposition step 13 and pack using repair mortar (Fosroc HB or similar) at underside, nosing and top of step in final position
8. Ensure mortar has set before progressing with steps below
9. Repeat exercise for steps 12 to 1, until all steps are in their final position

Written by Chris Wood, Specialist Conservation Architect and Technical Director
Chris has been closely involved with all our most notable projects which include construction and sensitive historic repair and refurbishment.